Do you enjoy making and sharing videos for your friends on social media? Are you a professional video blogger or just a passionate hobbyist videographer? Whatever purpose you have in mind, producing video clips for social media often requires some post-production process to smoothen the flow of your content and make it more appealing for your target viewers. Of course, you certainly don’t want to bore your audience with just pure talking heads or like an entire compilation of long raw clips from your video folder.
If you’re a beginner and wondering how to get your videos done, or you’re looking for great app options to improve your outputs, this article is for you! For sure there are a variety of options out there, but we’ve filtered out the best easy-to-use choices that you must consider. And yes, each of them has its own unique features and affordable subscription offers so you can make the most out of it!
Promo
Use this link to get 30% off for the first 3 months
Once you sign up for Promo, the Start screen welcomes you with several types of videos you can pick based on your industry and purpose.
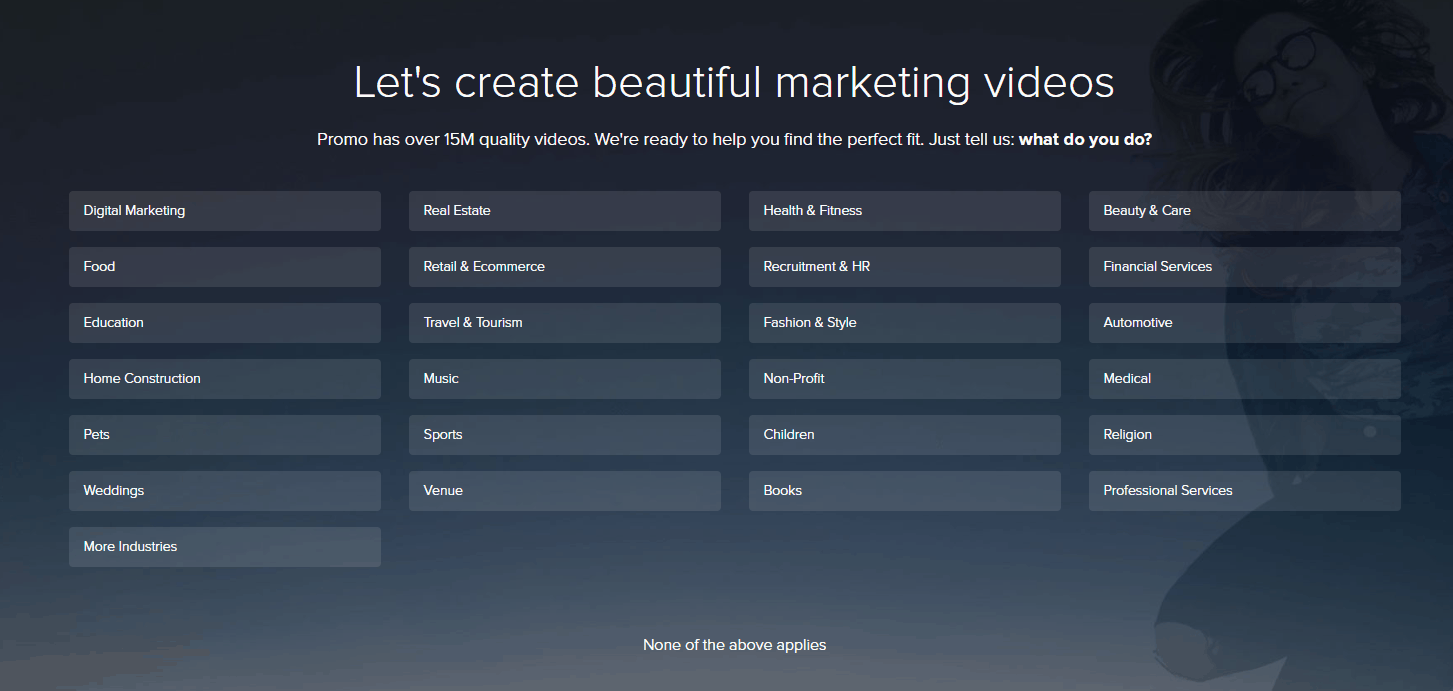
Then, you are hit with various subcategories. We chose “Food” and then “Coffee Shop” for our example.
You are immediately taken to the webpage that shows all of the templates available, some of which must be paid for through a subscription.
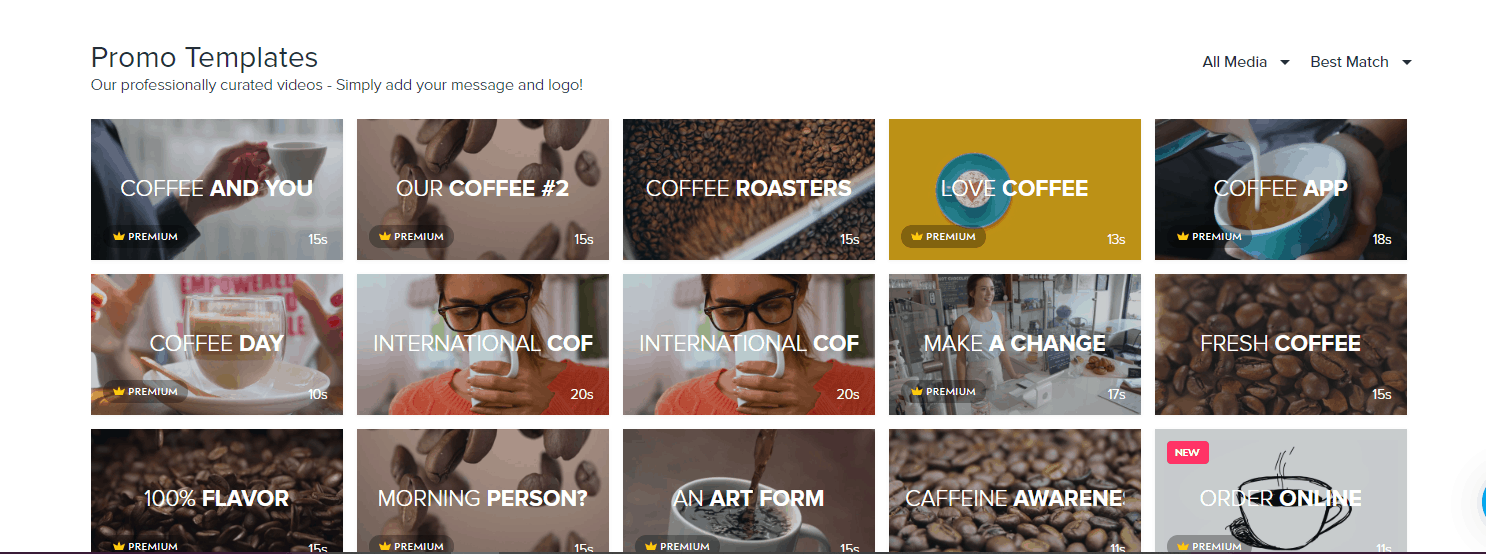
When you find the one you like, simply hover your mouse over it and select ‘customize.’
This editor walks you through the process – explains how to edit a text, and then leads you to choose a text style and select your fonts, etc.
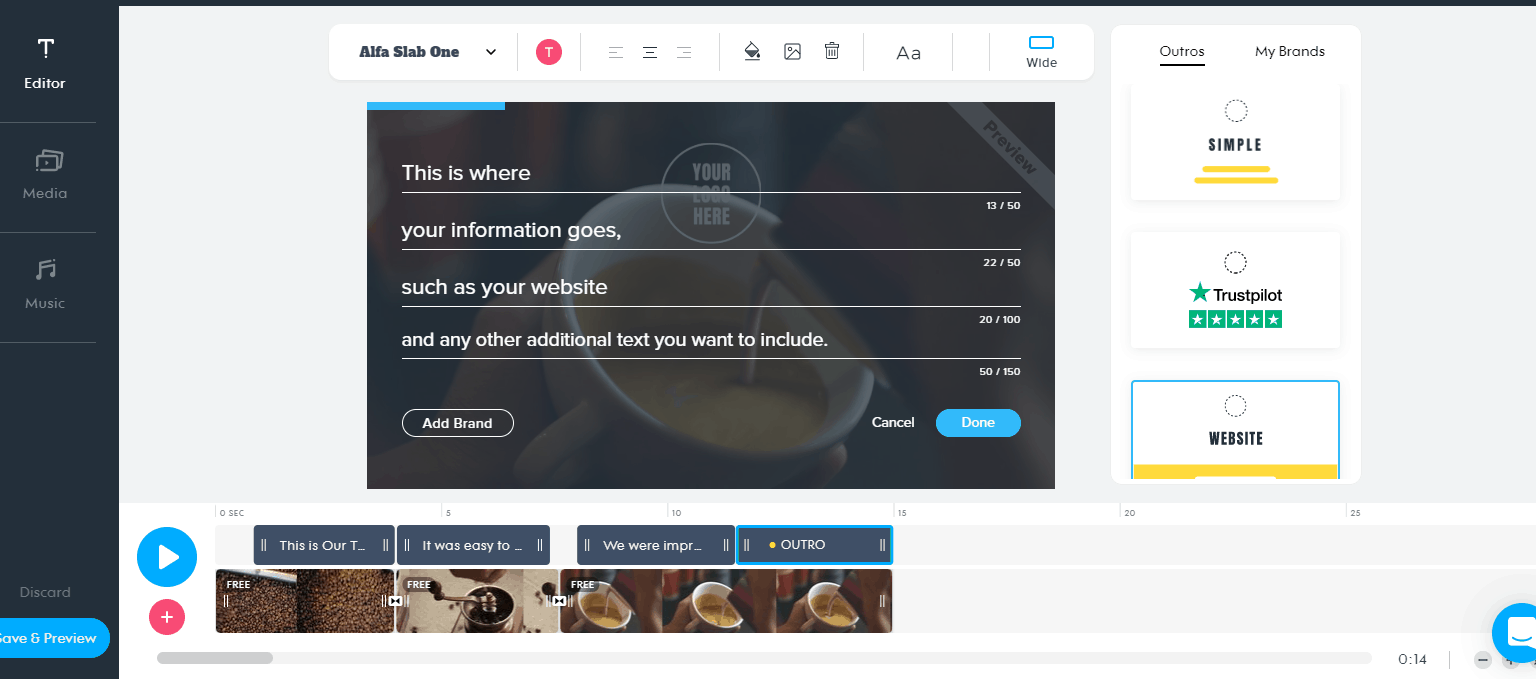
We are in the “Outro” area and this includes your brand information. You can add your logo by clicking the ‘Add Brand’ button. However, you should have to exit the editor to create it if one hasn’t been made yet. Therefore, make sure you save your draft before you exit.
Once you are finished, you can play the video to make sure it looks good.
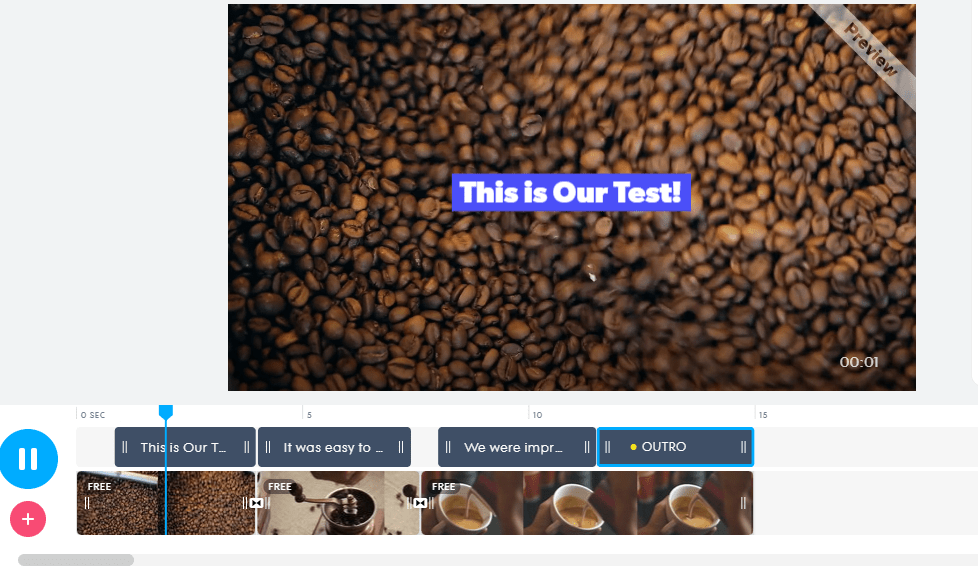
As you go through the actual process, you can save it and preview it. You can also publish it right away if you’re already satisfied with the outcome.
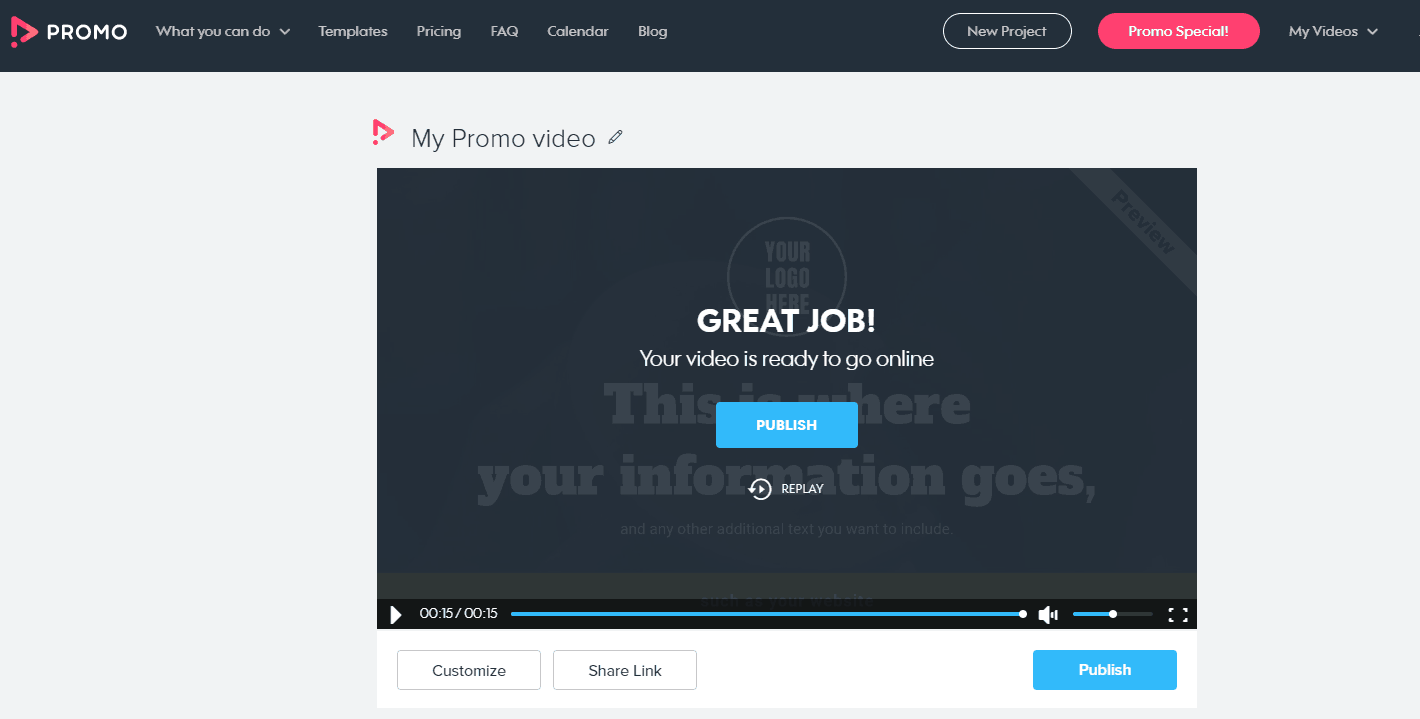
If you aren’t ready to publish it yet, you can always find it again in the “My Videos” tab. Just hover the mouse over the words and see your drafts and published videos instantly.
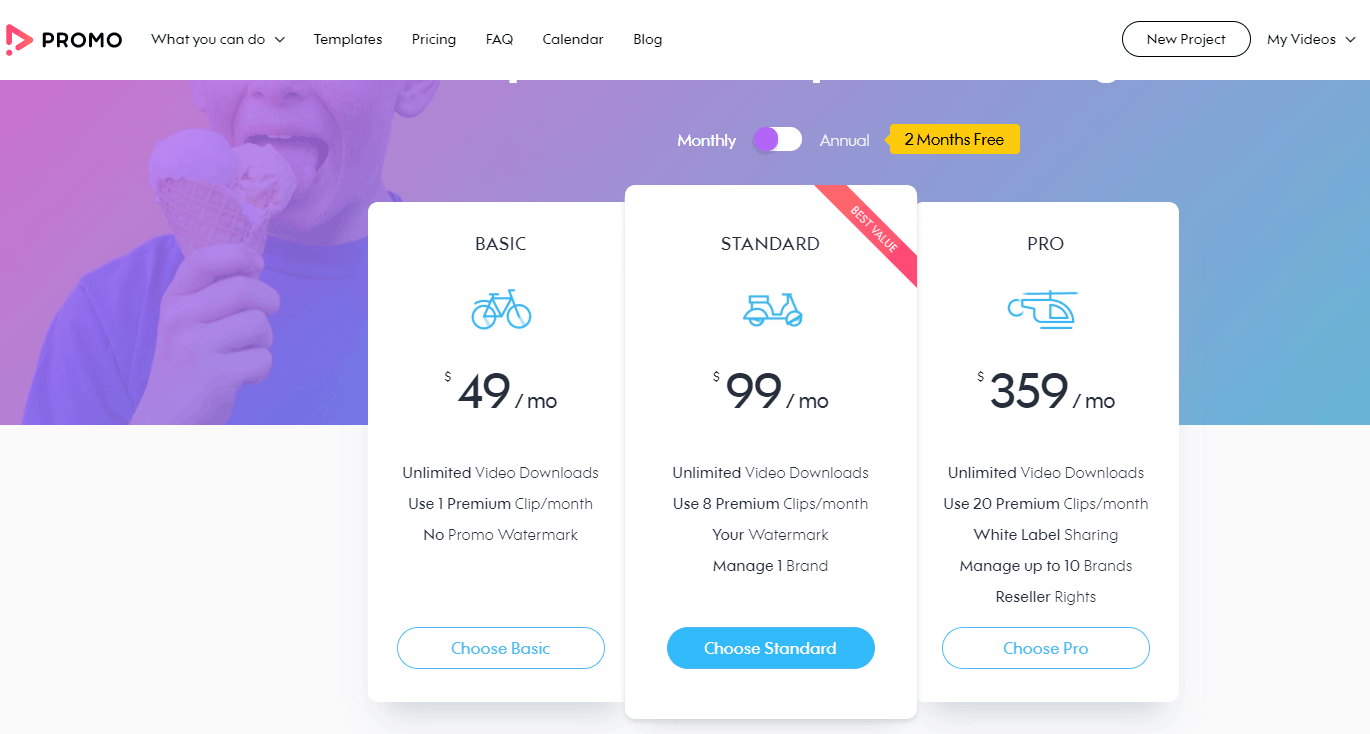
While you do have a free version, it is only available for two months. Then, you must choose from the basic, standard, or pro version to continue using its features.
Canva
Canva offers awesome pre-edited designs and templates which you can use depending on your purpose. If you’re a small business, you can just click the option and you’re good to proceed.
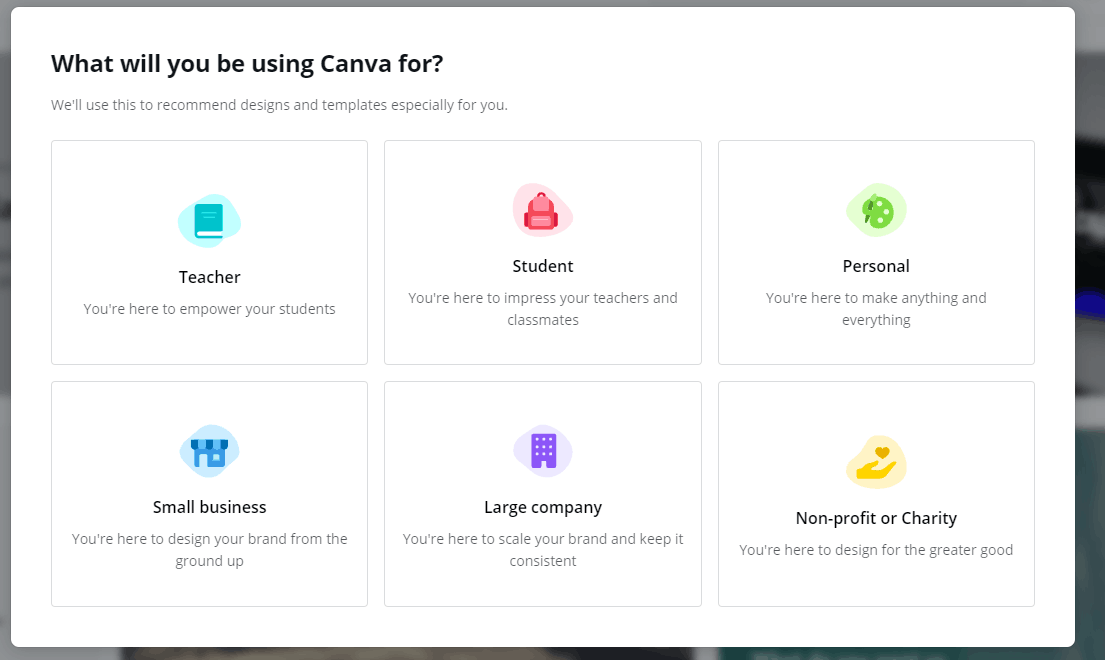
For the purpose of this review, we are going to claim a personal use, but you can use it as a blogger (small business,) or for almost any other reason you may want to create videos.
It’s possible to try Canva Pro for free, but you are required to input your credit card information. Therefore, just for this review, we use the basic free version.
With Canva Pro, you have access to many interesting things, such as free access to its entire library of images and the ability to resize photos with one click.
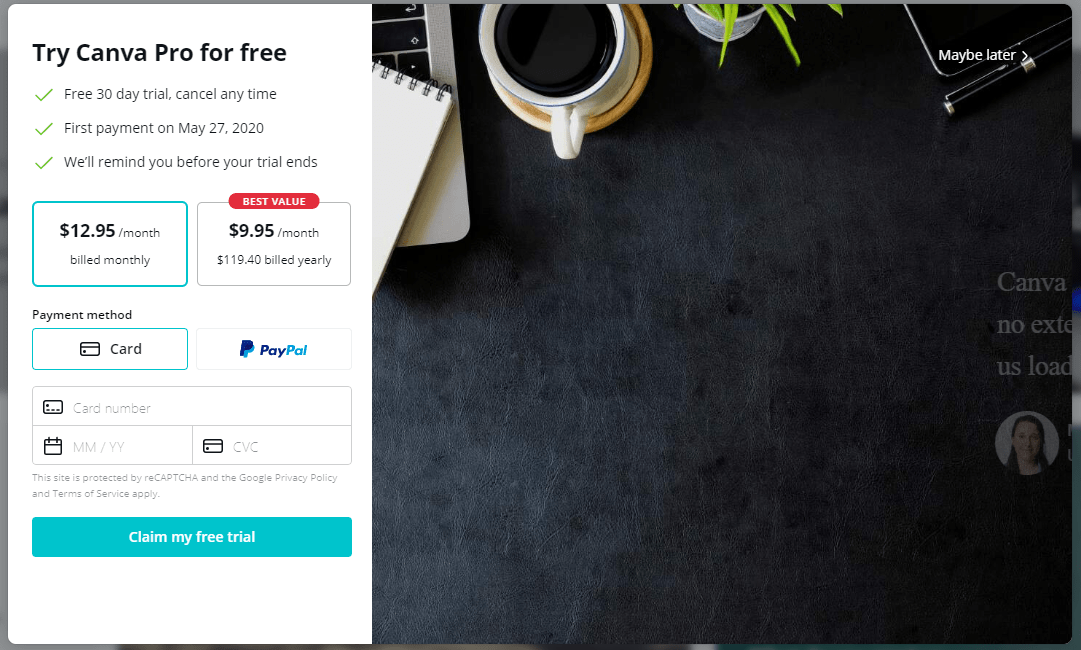
Once you have chosen whether or not to try the professional version (which we did not), you are asked to start your design. You can search for anything you desire or choose from the many popular options.
Of course, you can start with almost anything, but we’re focused on videos here, so we move quickly to the video template area.
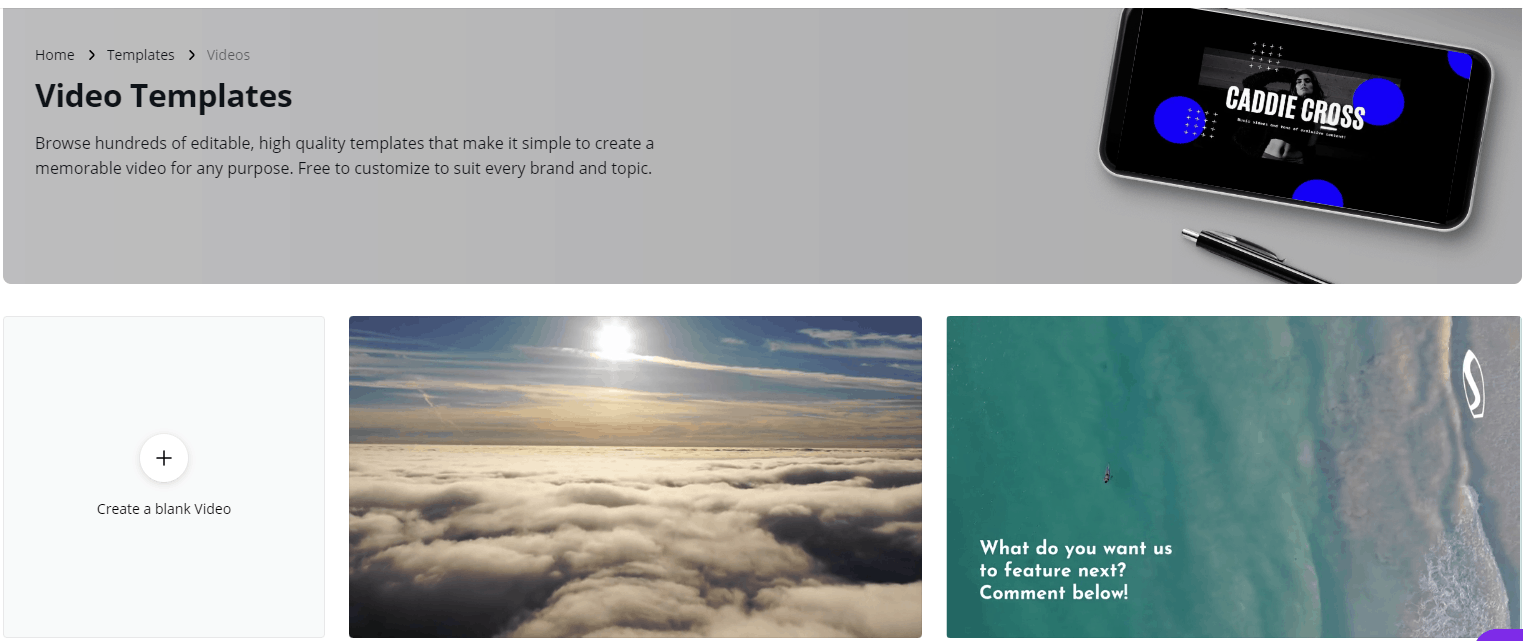
Immediately, you can see that you can create a video from scratch or choose from a variety of pre-made templates. These are fully editable, so you can customize them to fit your specific needs.
We chose to work with the Swirling Stars video to give an idea of how the editor works.
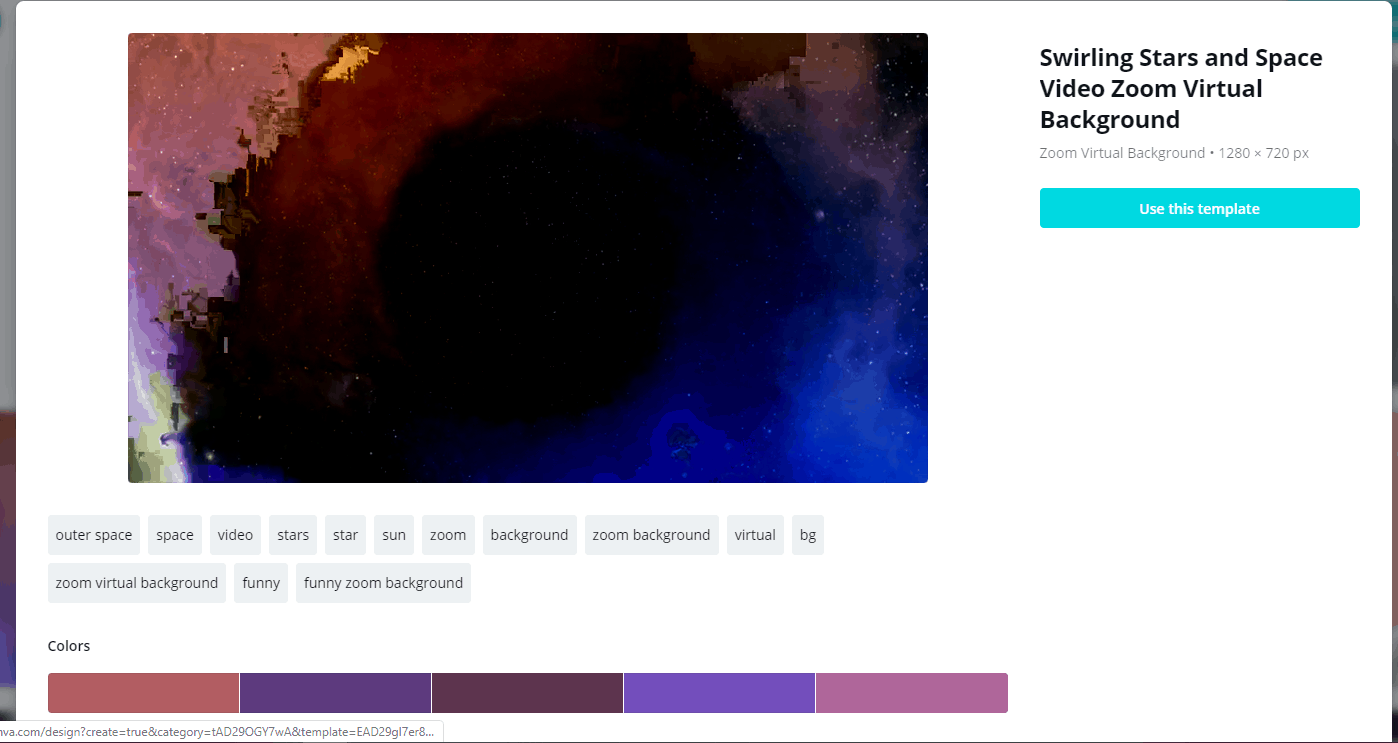
Here, you can choose different colors. If you’re satisfied, click on the ‘use this template’ button.
Once you’re in the editor page, you can make changes to the video by adding photos, various elements, and text. If you add something that you decide you don’t want, just click the Undo button or hit CTRL + Z on your keyboard.
Once you’ve done that, it’s time to add text.
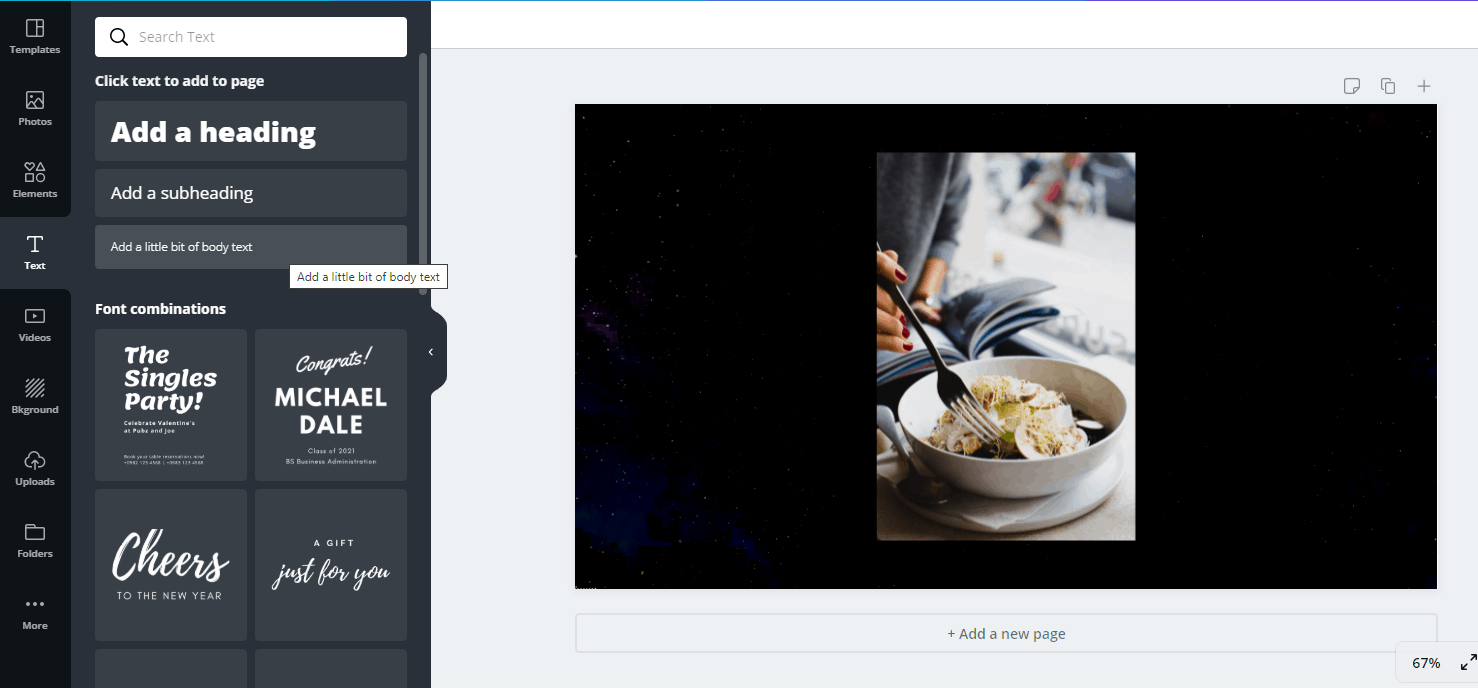
The first step is to create your text by typing in the heading, subheading, and body text boxes. Then, you can choose the combination of fonts you like best.
In the example above, you can see that the photo of the salad is right in the middle, but that is also where the text goes. Therefore, you must click on the words after creating them, hit the plus sign to the right, and drag your mouse to move.

Now, once you click on the subheading box, the textbox is automatically positioned under the heading. You can move this around separately if you desire, but we aren’t going to.
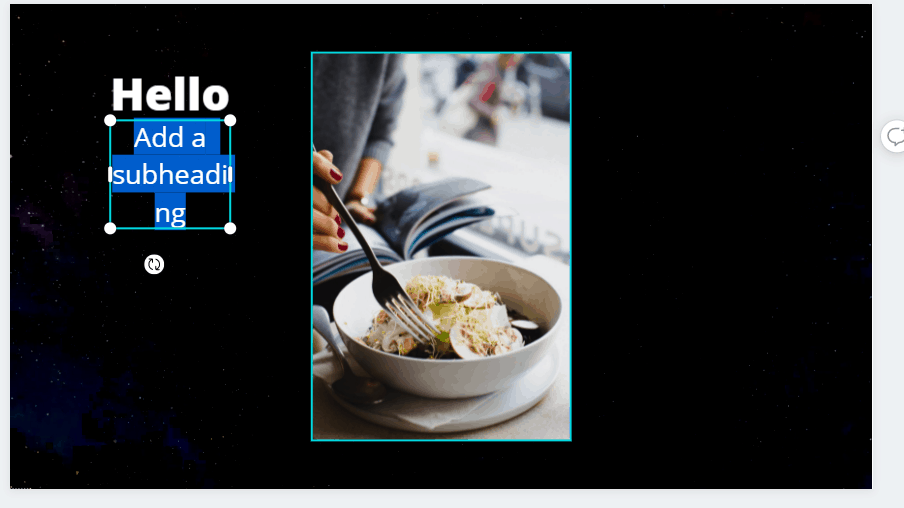
The default text color is black, which doesn’t work with this background. However, you can click on the A button with the colors underneath to change the color. We are going to make it white.
It’s now possible to add more pages to the video or make comments. You may also duplicate the video or trash it and try something else.
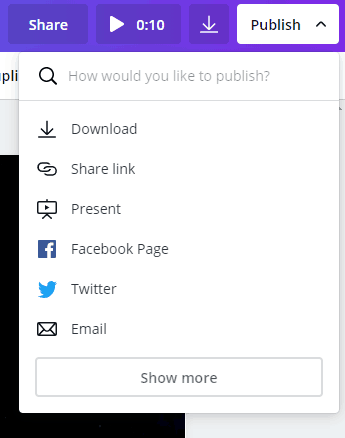
When you are finished, you may publish it, share it, or download it to your computer. See below:
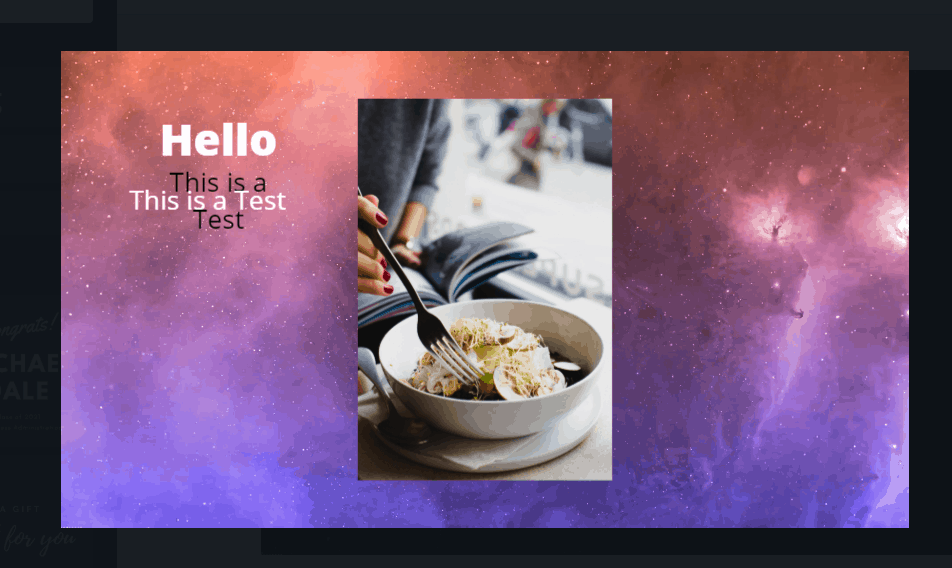
Below, you can see the video we created or at least part of it. You may notice that we made a little bit of mistake and had two “this is a test” bits. We aren’t going to fix it since it was just a test, but you can always go back and make changes as often as necessary.
Motionbox
Motionbox exists to help teams create & collaborate on video content and share ideas together in real-time. Also help creators and teams make better videos, faster. Add animated text, automatic subtitles, trim videos, and much more. Motionbox is an online video editing tool that allows people to easily create beautiful videos with a single click, add subtitles and it’s FREE.
Crello
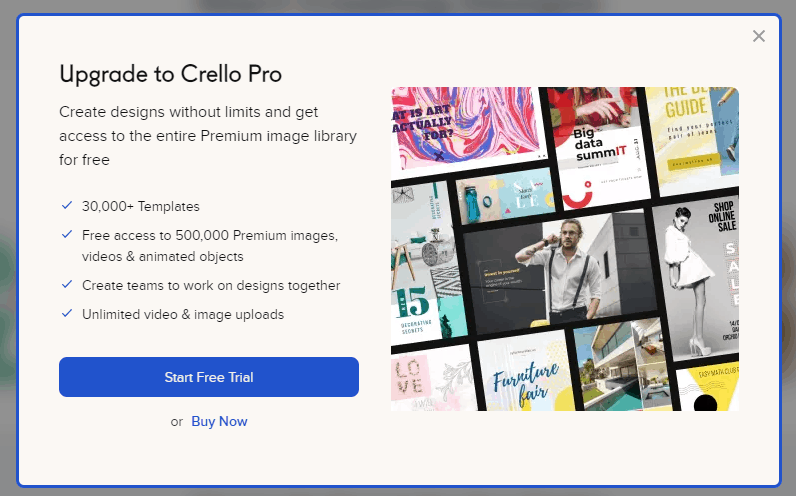
Crello is another excellent video editor tool. Below, you can see what it looks like when you proceed with sign up. One good thing is the company makes it easy for visitors to sign up via Facebook or Google. Once you’ve signed up, you have access to over 30,000 templates to create things, as well as 32,000 HD videos and 500,000 premium photographs.
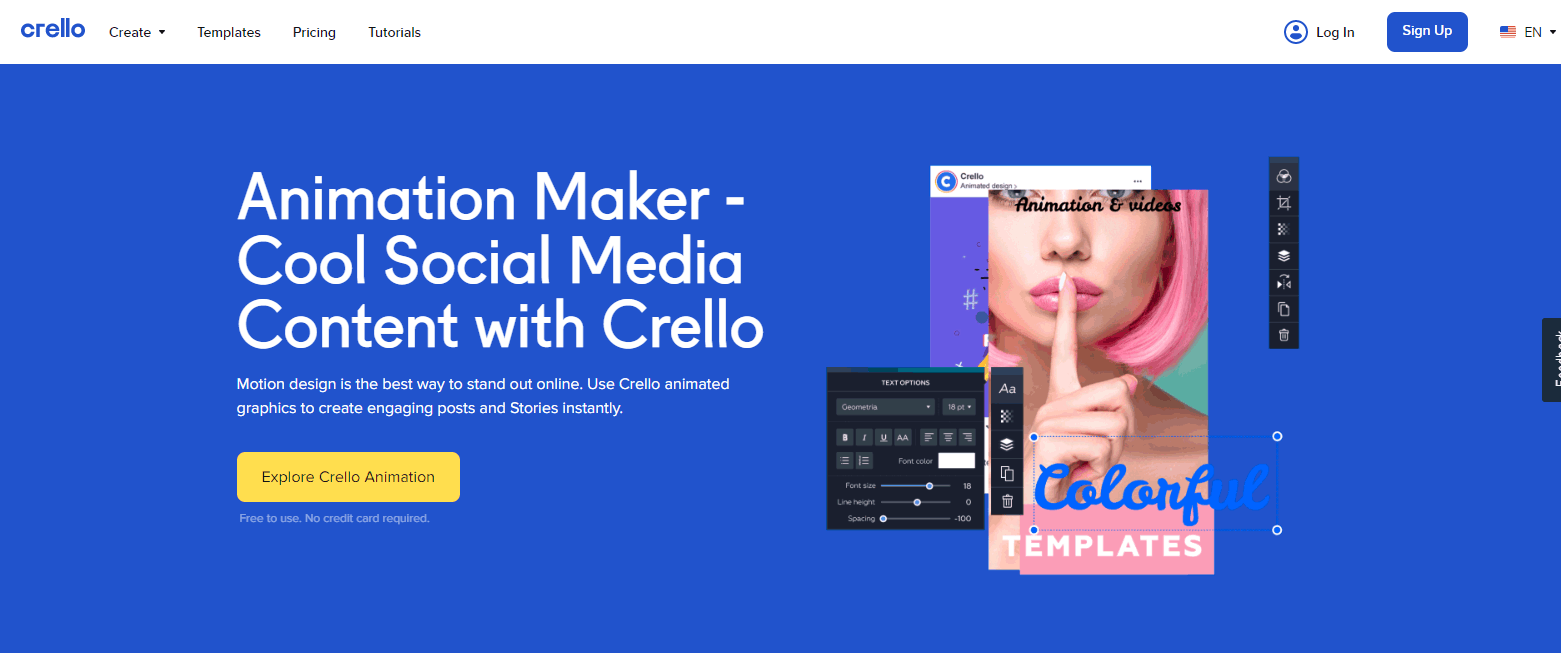
You can start by using the editor for free, but there is also a pro version. With it, you have access to more templates, premium photos, can have teams available to work on the design, and have an unlimited image and video uploads. The price is just $7.99 a month, or you can do the yearly payment ($95.88) and save $24.
Since we are focused on video editors, we’re going to choose between the many options here. These include:

We’re going to select the Facebook Cover for now. You can clearly see that there are a variety of designs, but you can also add photos and videos within the video. The setup is similar to Canva.
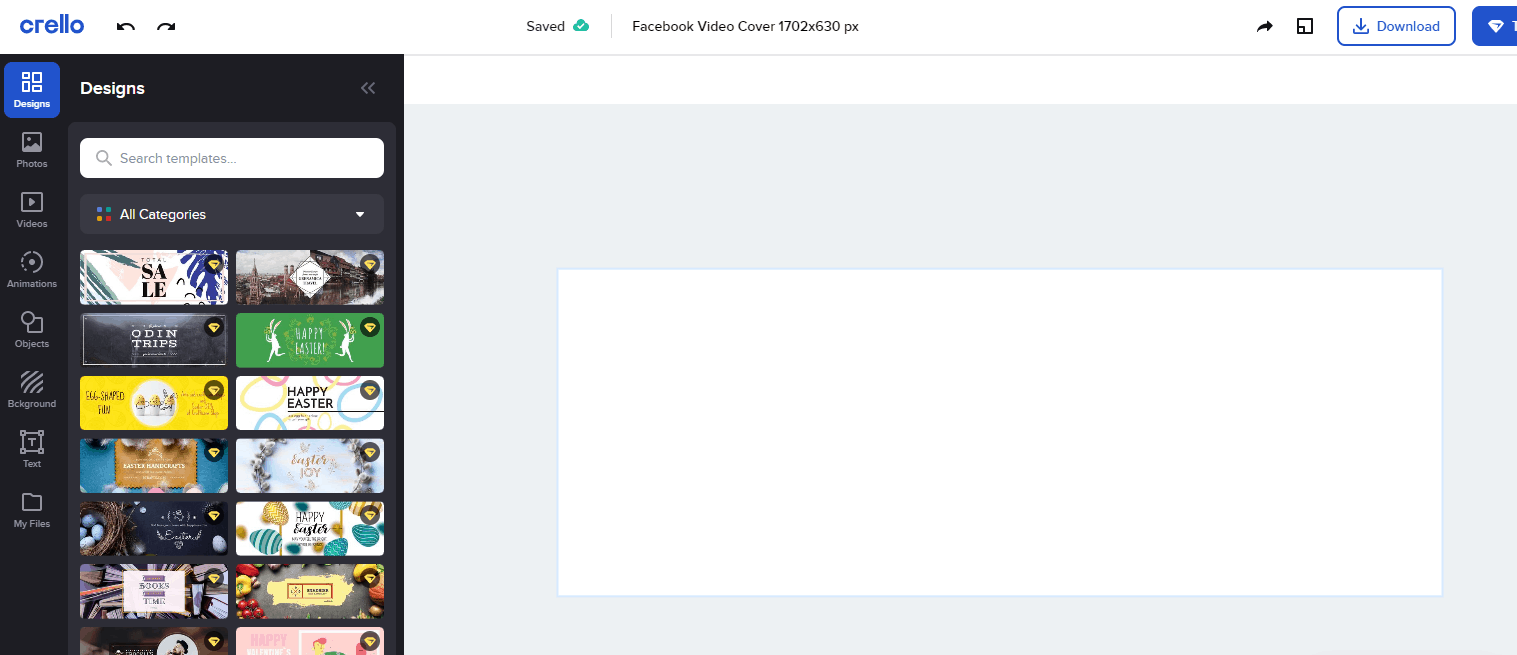
Once you click on a design, you can watch it unfold, just to see how it’s going to look when you’re done. That first one (SA – LE) starts off coloring in all the bits and then adds the border and words. You can change the wording as we did below:
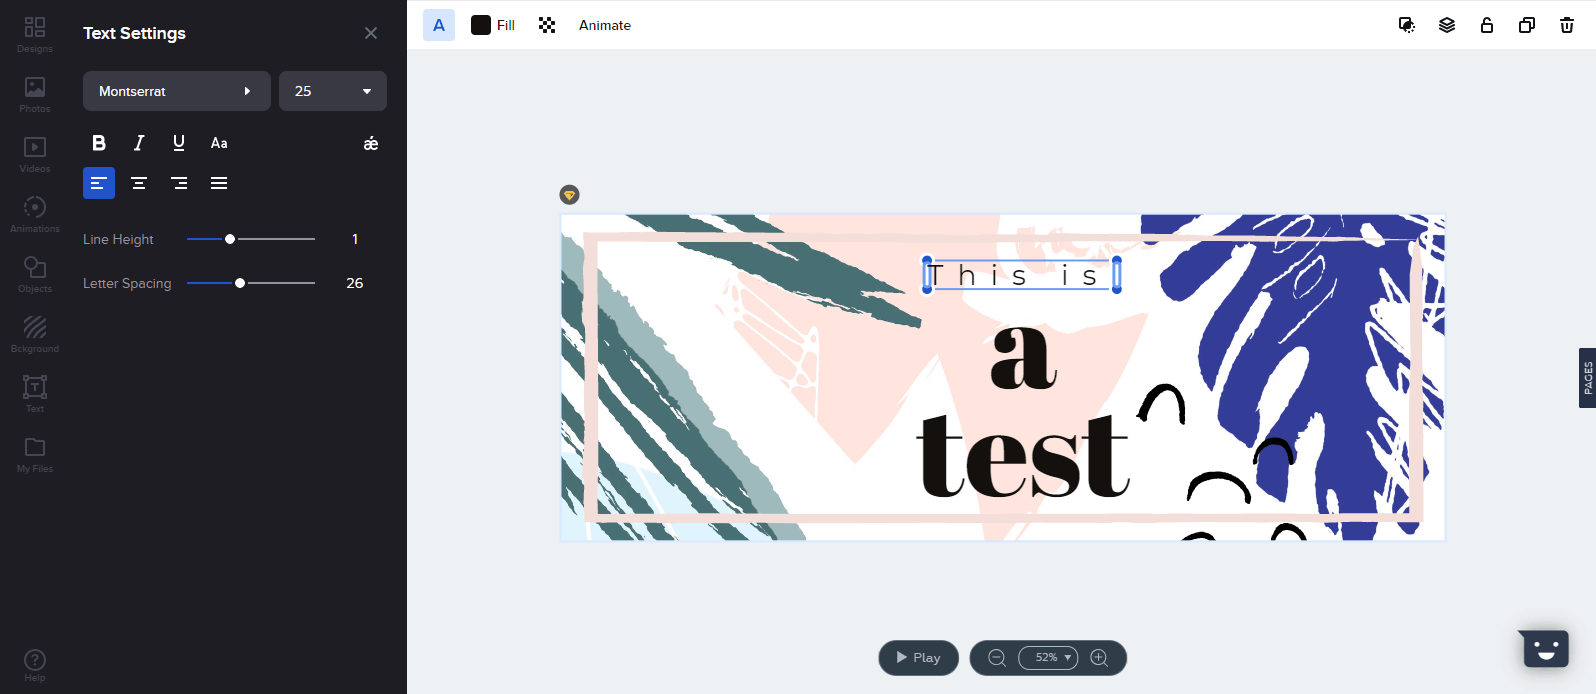
Then, if you want, you can change the fonts, add photos, and so much more. Continue playing around with it until it meets all of your needs.
When you are ready, click the ‘play’ button at the bottom of the screen to watch your quick video come to life.
You can then download it to your computer or phone, share it on social media, and much more.

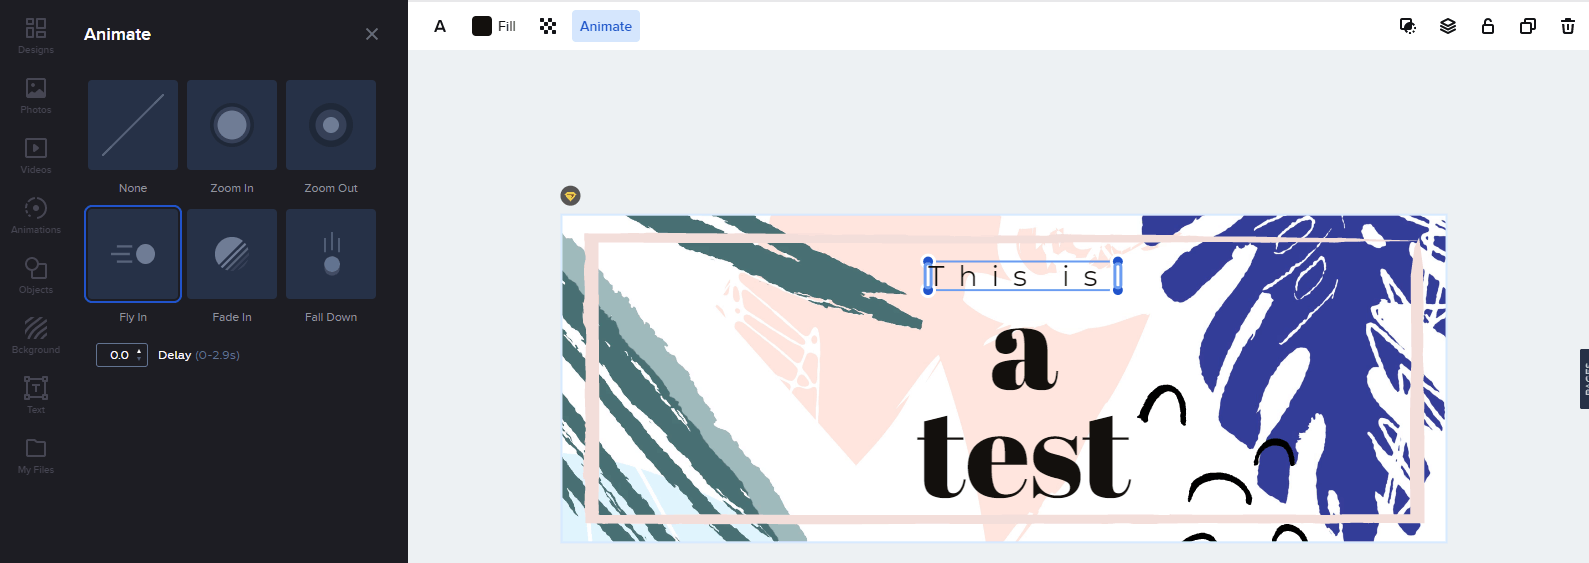
This one didn’t do too much, but you can see that the purple leaf is just a bit more to the right, so the leaves move while the words stay as it were. You can also add animations. Click on the Animate button at the top and then choose the one you want. You can set animation for both parts of the text if you desire.
Moovly
Moovly allows you to easily and quickly make videos online, such as those to explain or promote things. It’s easy to get started, but we should talk about pricing first. There is a free version, which is what we used.
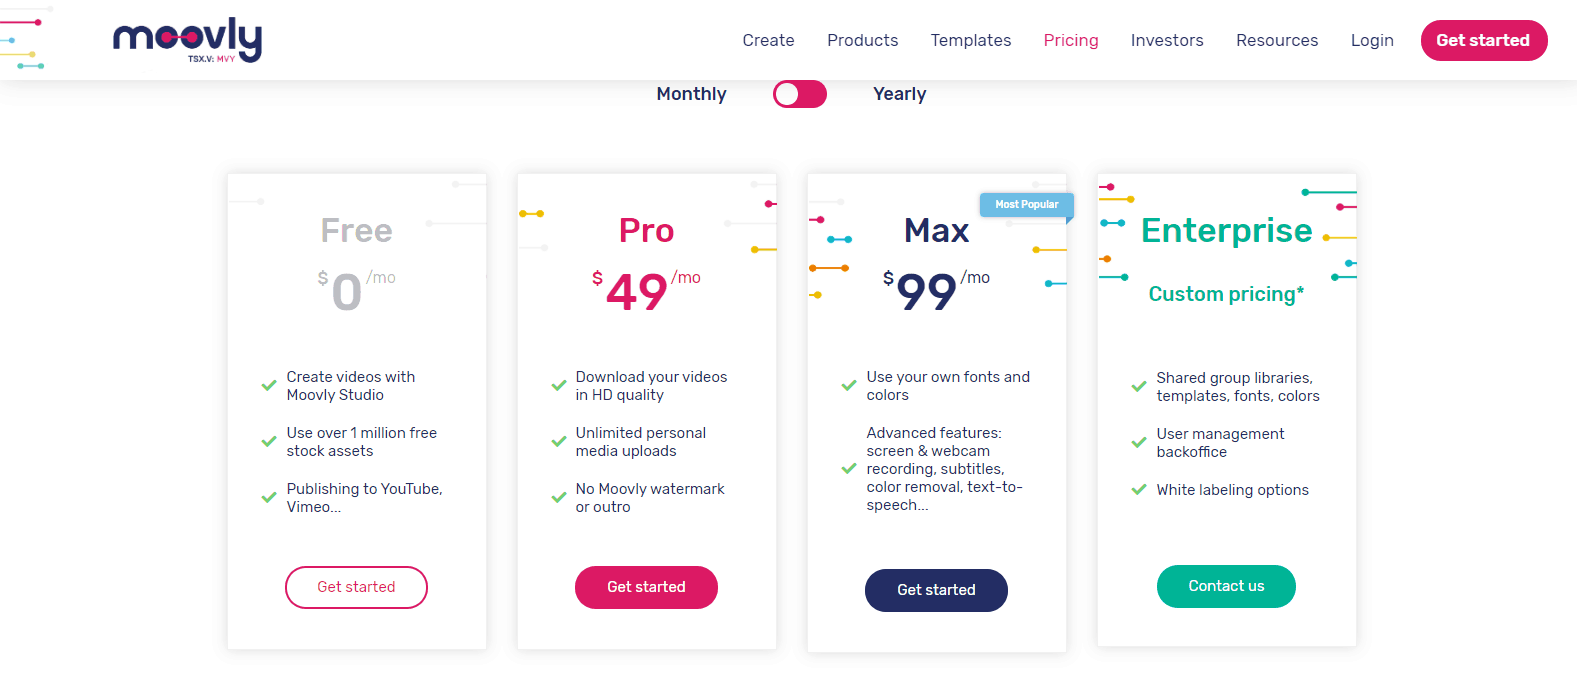
The free version gives you access to a lot of options, but the Pro ensures HD quality and personal uploads, as well as the removal of the watermarks. The Max edition allows you to create fonts and colors, as well as others.
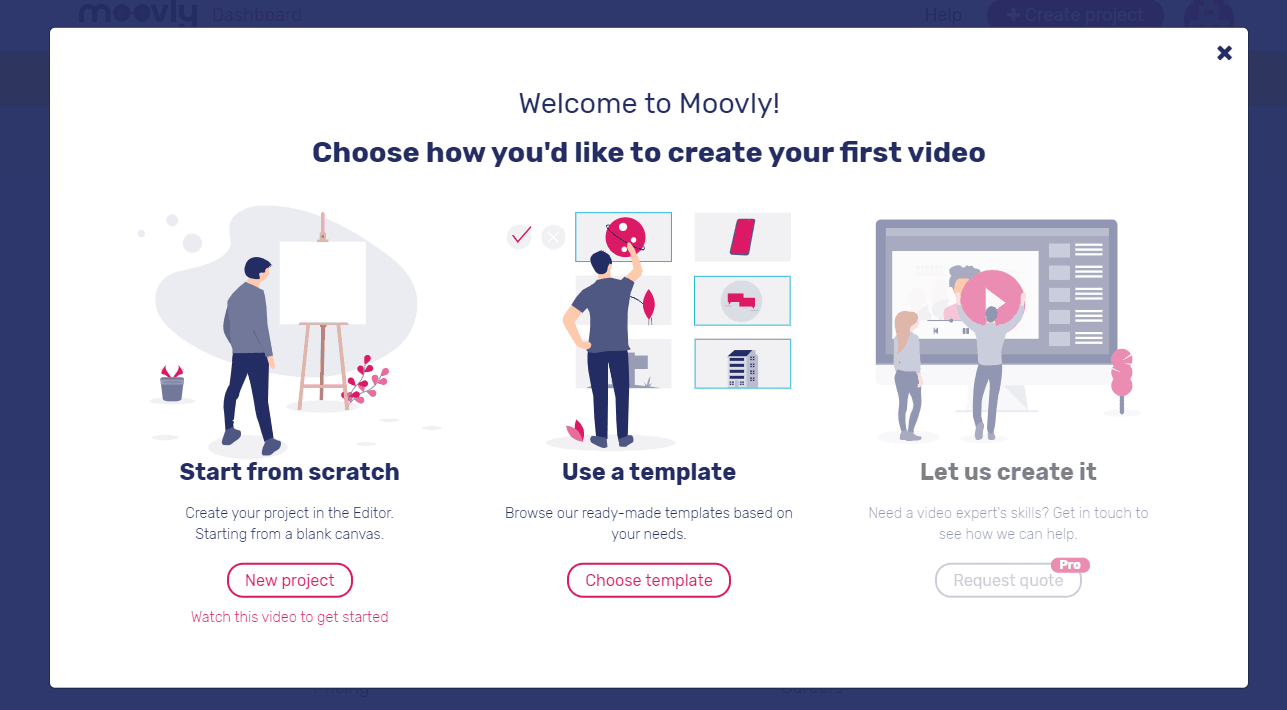
Once you have signed up for the free trial, you are asked to create a video by using a template or starting from scratch. We chose to use a template to make the process of reviewing the site faster.
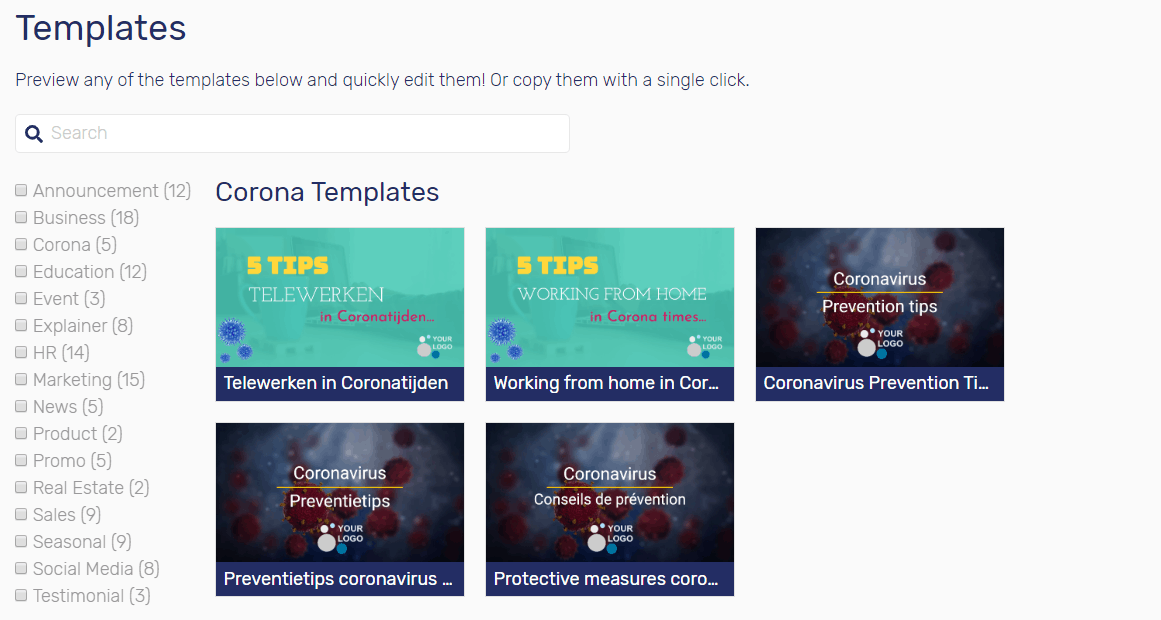
You can see a list of various templates, and the most popular at the time is shown to the right. It’s also possible to search for a particular option.
For this, we chose an event video that comes with sound. You cannot change the sounds, but you can quickly edit it or make a full edit, depending on your needs.
We chose the quick-edit version to get an idea of the editor, and this is what we saw:
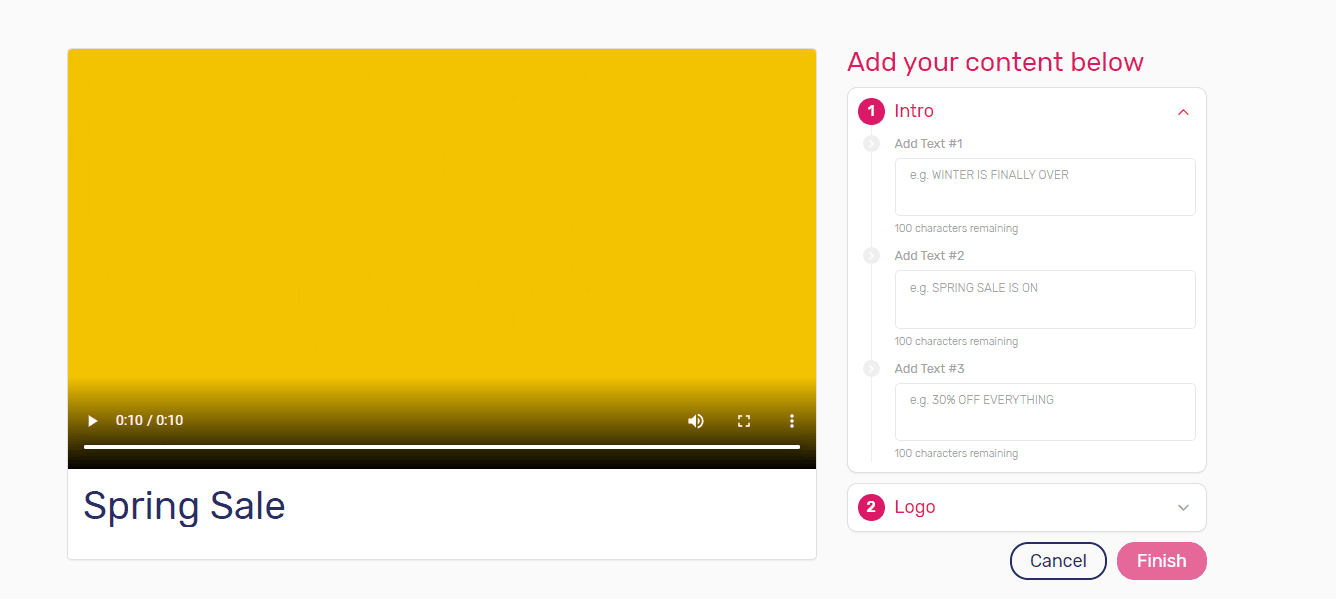
It gives you specific boxes that allow you to add text and an explanation of what goes in each box, though you can put whatever information you want. Here is what we included:
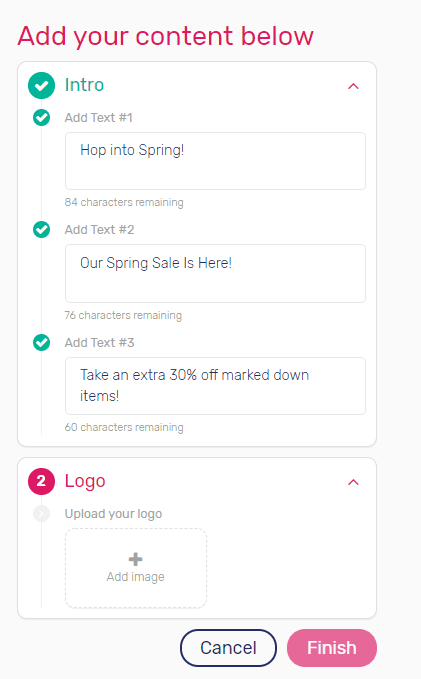
You can also upload your logo, which makes everything quick and painless. It is a requirement to add a logo here. When you’ve proofread everything (the editor doesn’t do this for you), just click finish, name the project, and click finish. Then, you can watch the video and make sure it is what you want. If not, then you can go back and edit it.
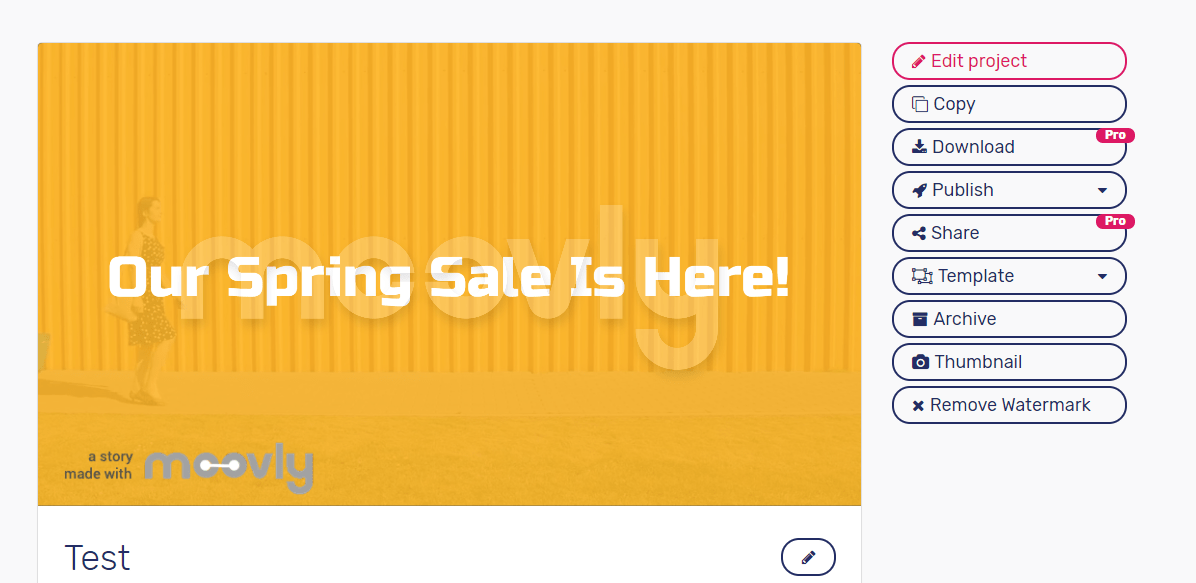
As you can see, the watermark (Moovly) is behind the words and can only be removed by upgrading to Pro version.
Veed.io
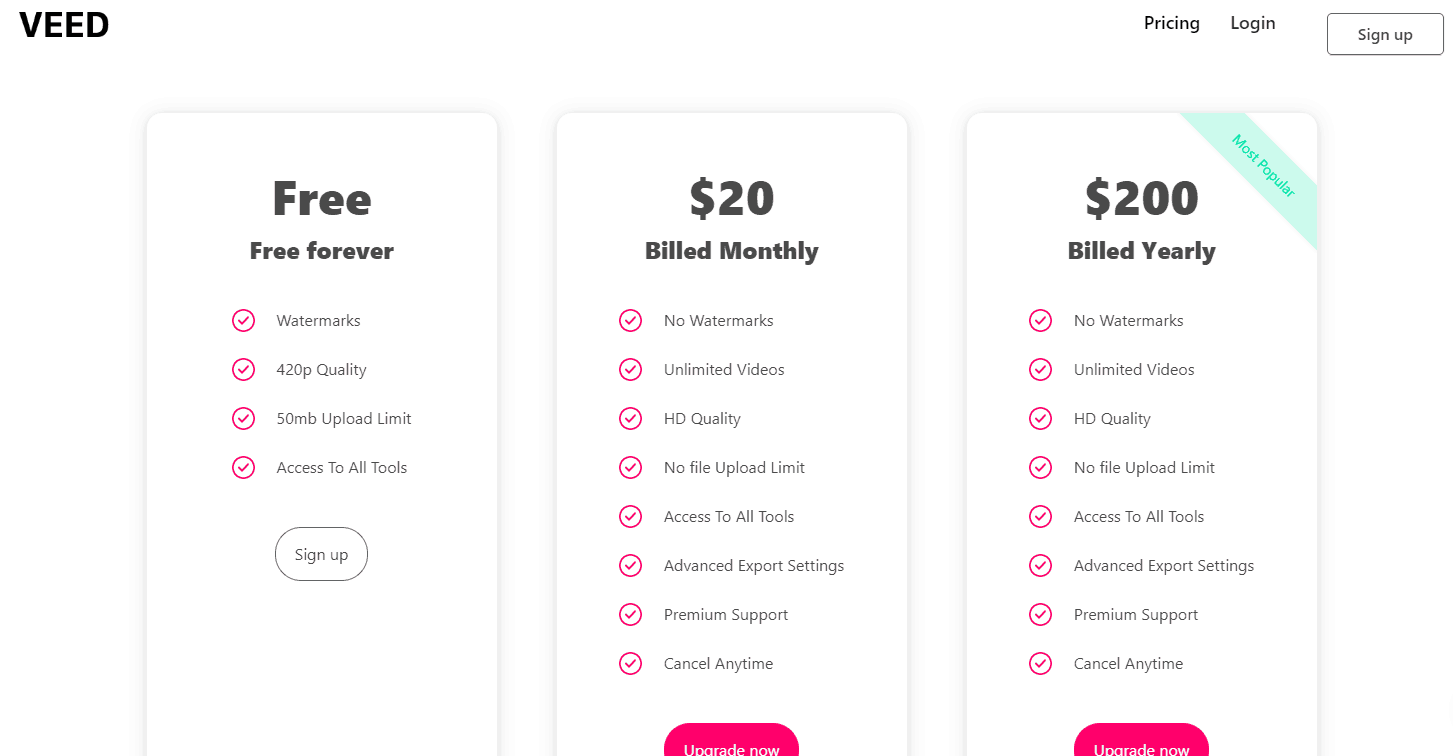
Veed is an excellent online video editor, which offers a free version (forever). However, the videos do contain watermarks and the quality isn’t as good as it should be. Still, you get access to the tools available. Here are the pricing options available to you, along with what you get:
Once you sign up, you are taken to the workspace and can get started by uploading a video.
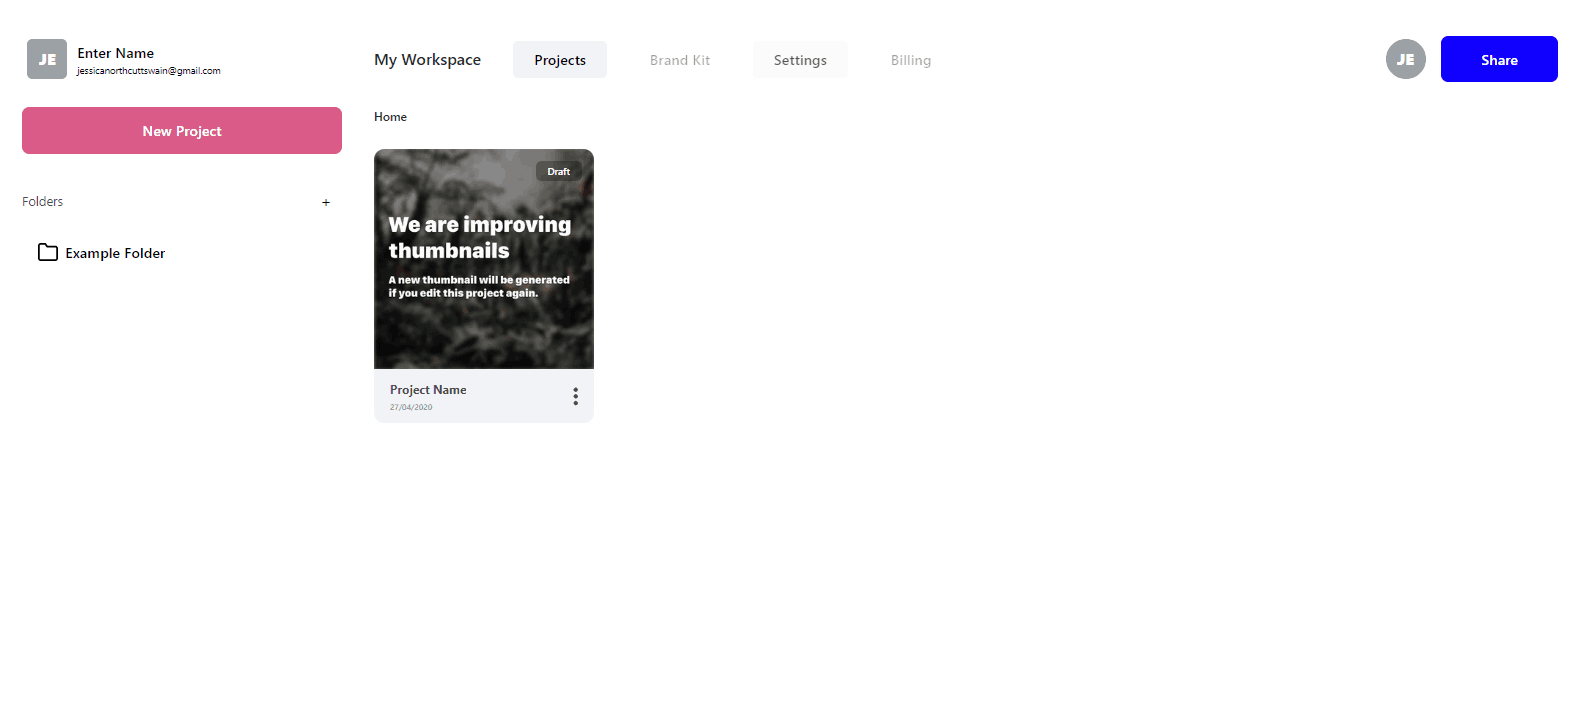 One caveat with this editor is that you must have a video to upload. You cannot use a pre-made one, as there are none available, at least on the free version.
Therefore, we made a quick 10-second video of rain and uploaded it to the editor. You can choose from a file on your desktop, Dropbox, and a few others.
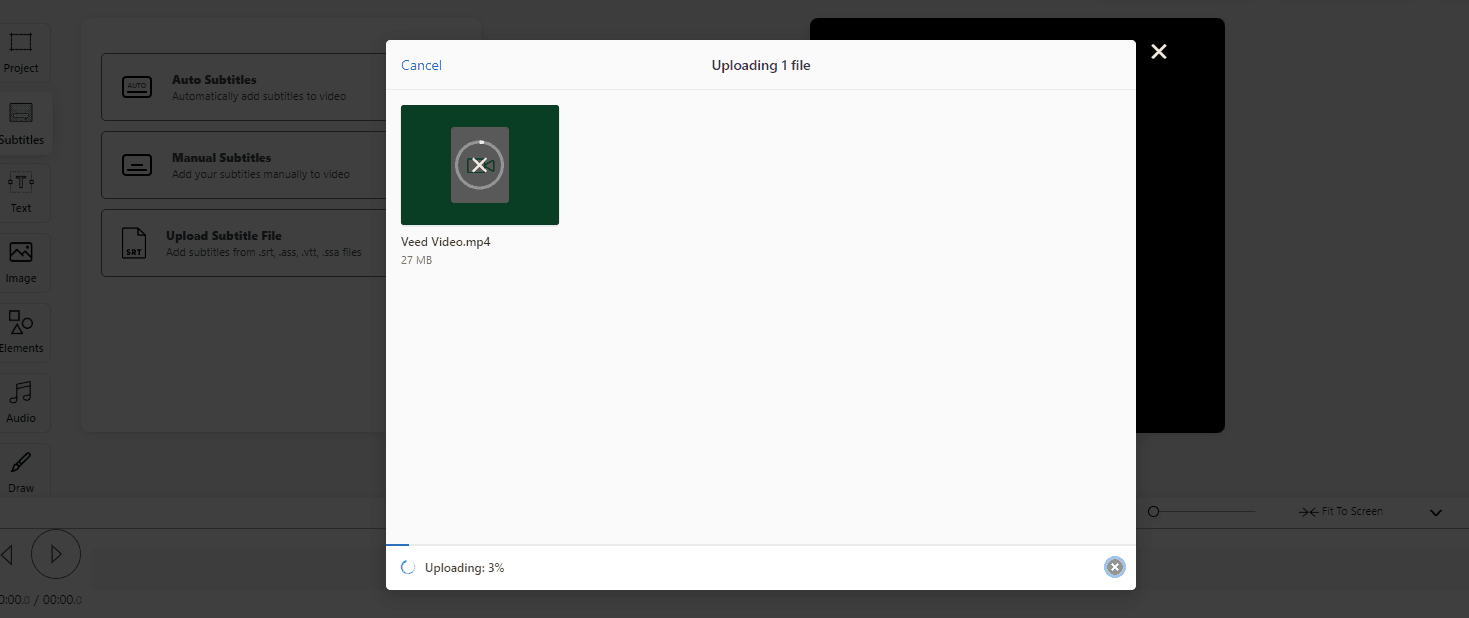
You can watch it upload, which took about two minutes, as it was a 27-MB video. Once you have the video uploaded, you can make changes to each of the frames. Our 10-second video was 11 frames long.

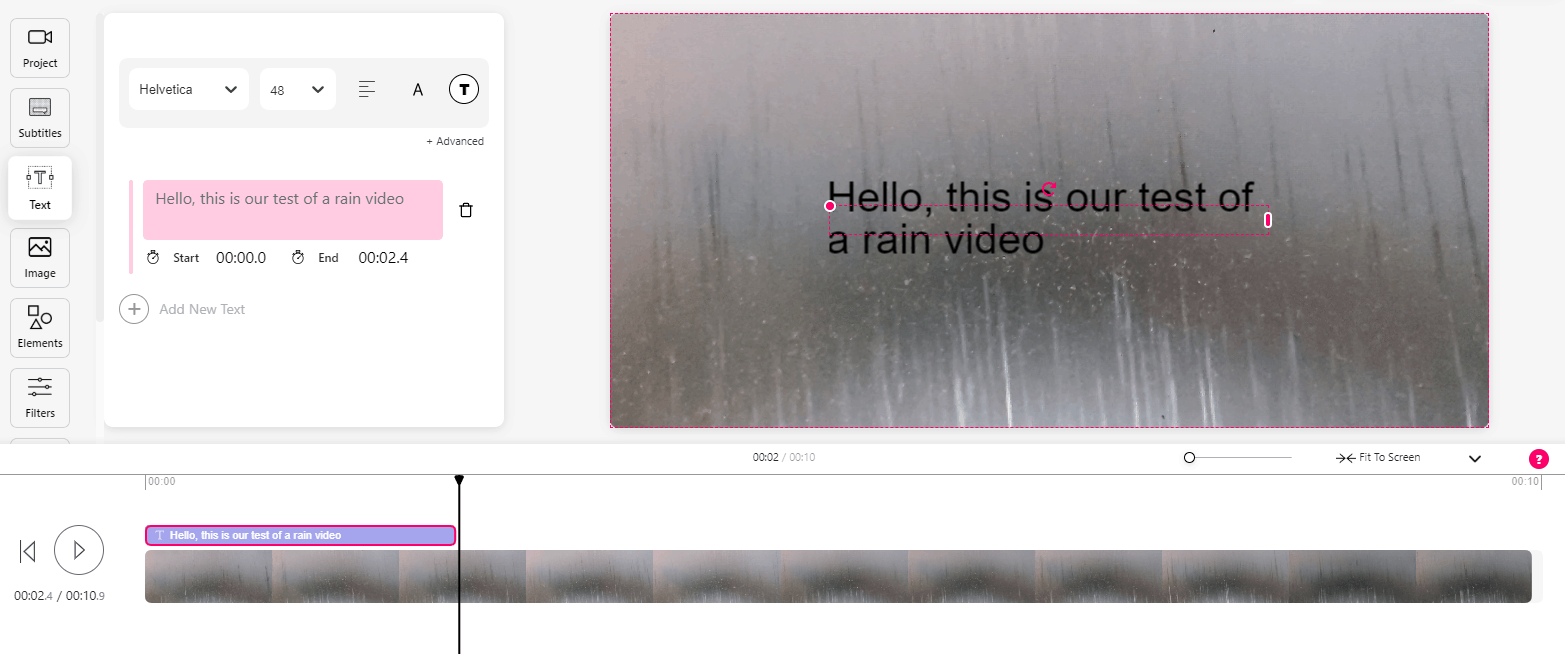
To show you a bit more of the editor and how it works, we decided to add some text and images to the video. Below is our attempt at adding text:

You can have those words displayed from the beginning to end or change it to start and end anywhere by dragging the little black line at the bottom (by the arrow):
We also drew at the very end of our completed video to test the feature. There are so many ways that you can customize your videos with this tool. Plus, it is free forever.
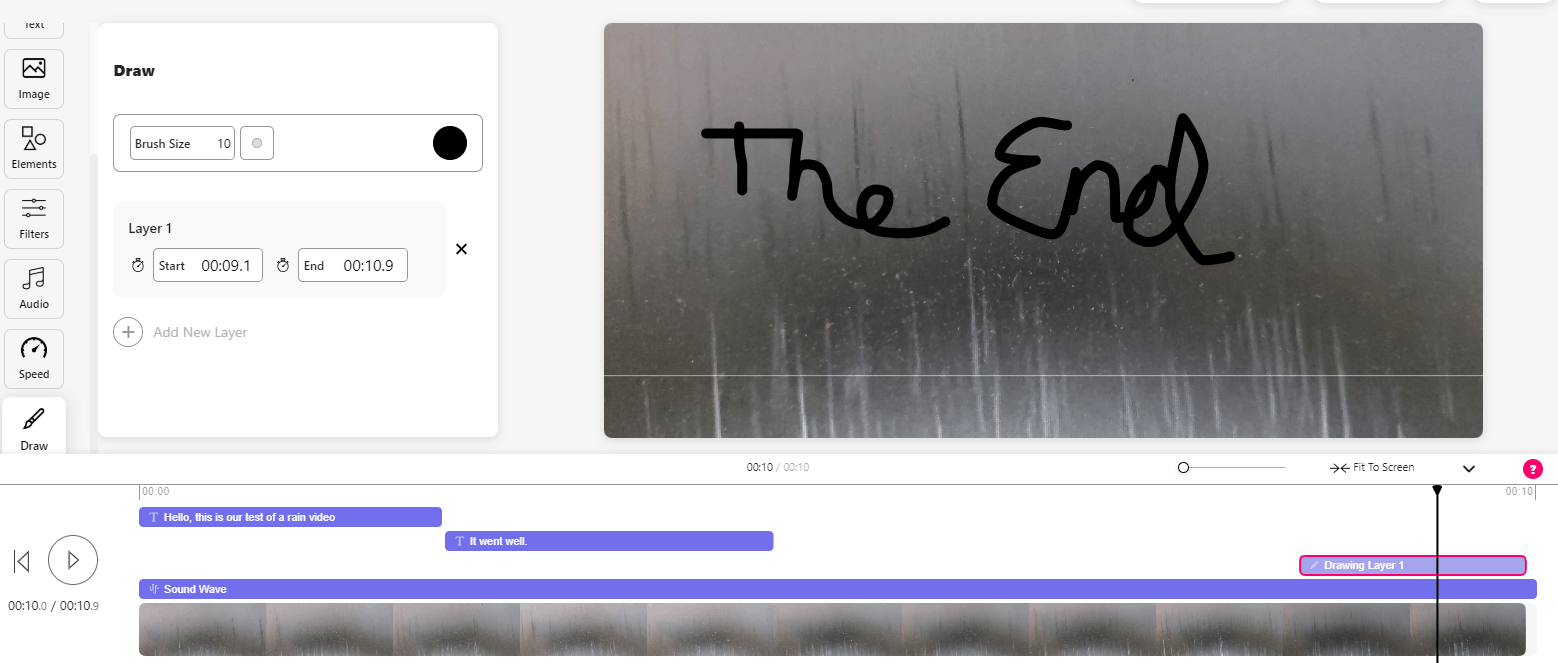
You can clearly see that it shows all of the edits you have made at the bottom. This allows you to see when things are going to start and what is going to be said. Once you are finished, you can click the download button:
Once it is finished downloading, you’ve got a variety of options available to you.
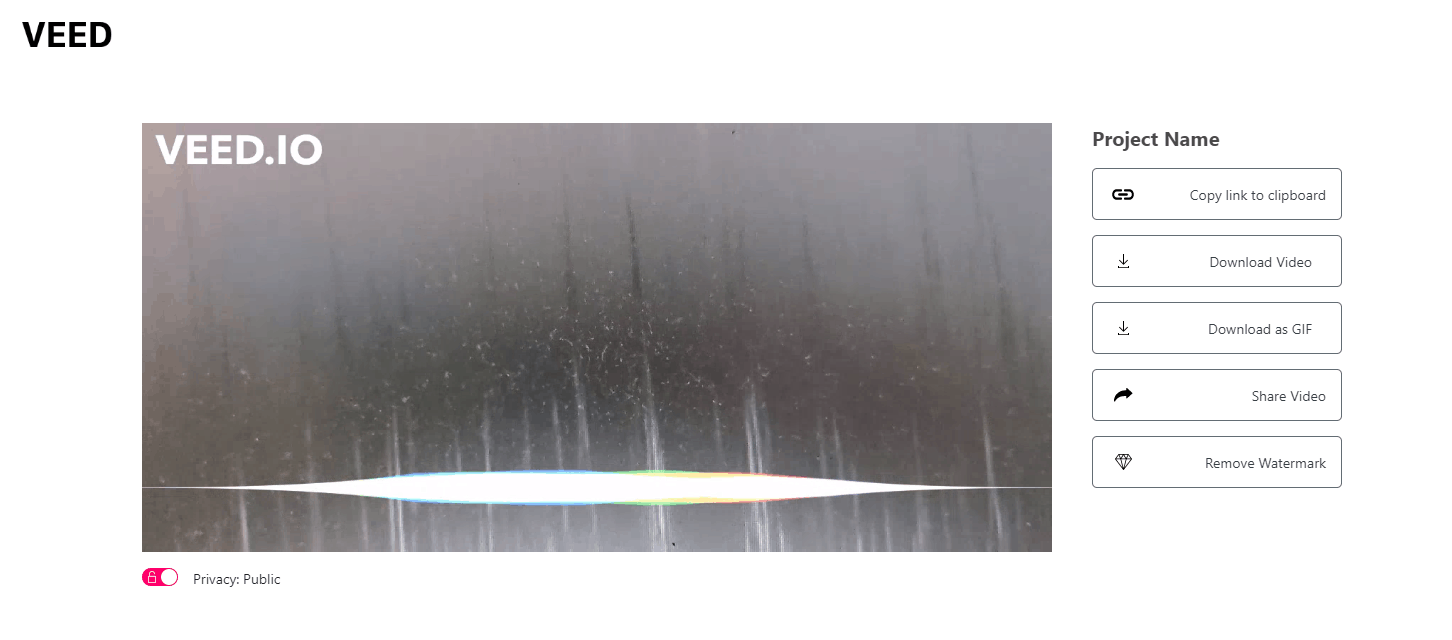
You can choose to copy the link to a virtual clipboard and paste it somewhere else, download it, use it as a GIF, or share the video. Of course, the VEED.IO is always going to be there unless you upgrade to remove the watermark. You may also change the privacy level to public or private.
Conclusion
From these five video editors, you can tell that there are many excellent and easy ways to edit videos. Of course, images and text are always popular on social media, but as you learn from this article, you can always draw more attention and try something new this time.
All apps offer a free version, though some of them aren’t free forever. If you plan to make a lot of videos (such as for a YouTube channel), then it might make sense for you to purchase a paid plan.
Most of the video editors work similarly in terms of features, except for Veed, which requires you to upload raw videos and images you want to include. However, all of them make an ideal software, especially for beginners. Consider trying out at least one of them for yourself to see how easy it is to create professional videos from home (or work)!


